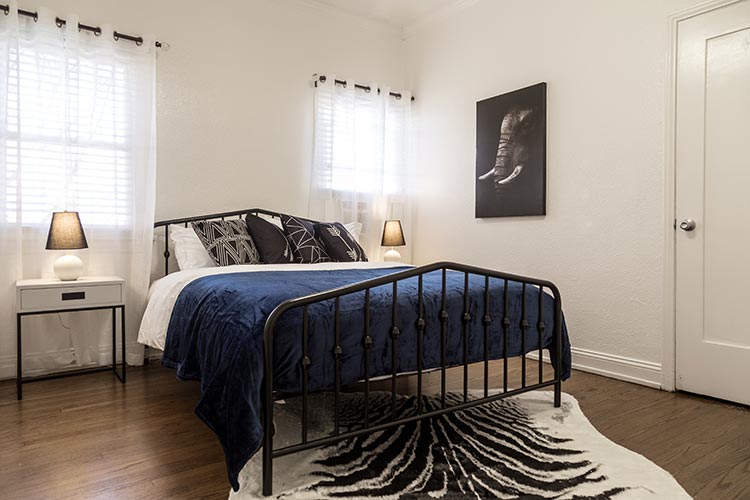
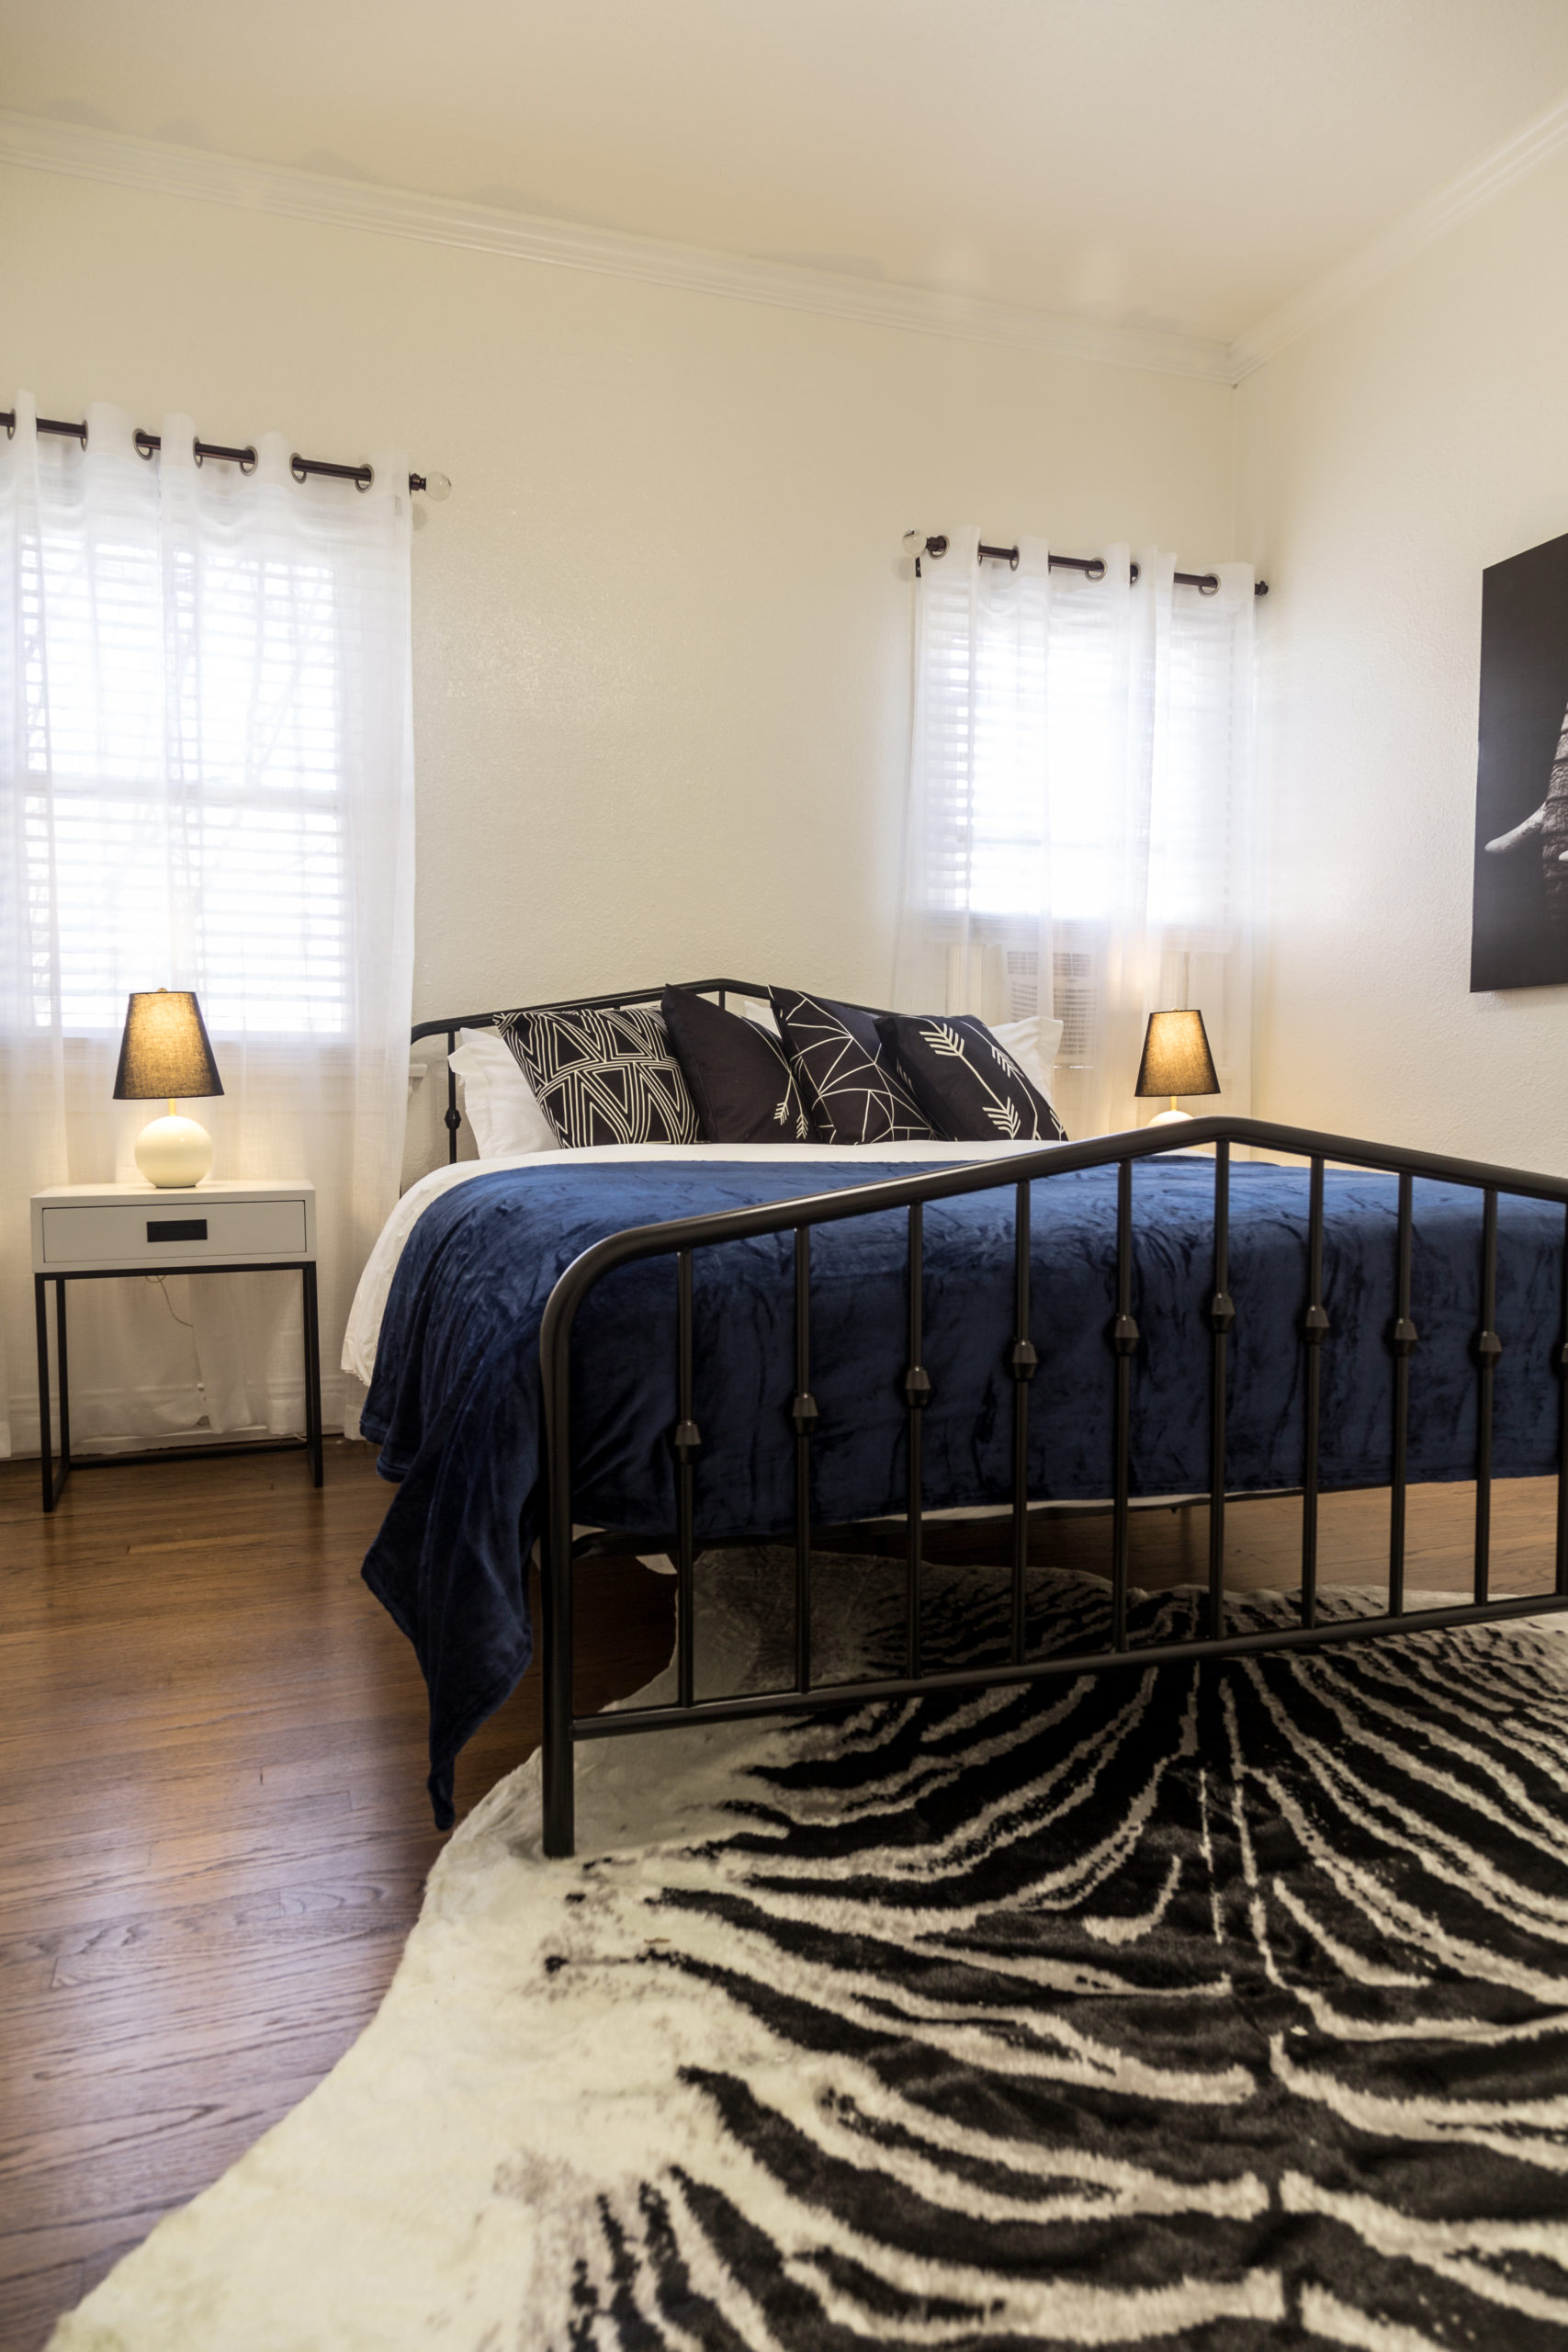
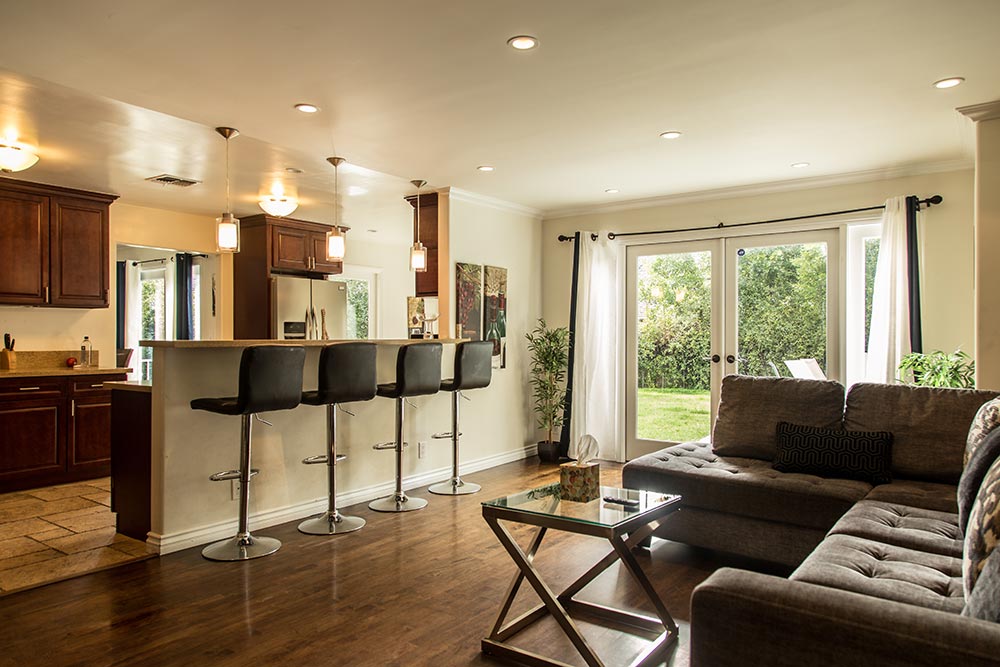
If you want to list your home and get good photos without hiring a professional photographer – here are 4 steps to getting great images of your space from a professional real estate photographer.
1. Remove clutter, trash, things out of place. Below are a list of common things we see in photos
- Kitchen
- Remove any pots from the stove, drying dishes, clutter against the walls, sponges and other cleaning tools, anything over the microwave, etc..
- Bathroom
- Remove all personal items like toothbrushes, makeup, brushes, hair styling items etc… Remove any robes behind doors or on the floor. Do not leave any hanging over the tub.
- CLOSE THE TOILET!
- Bedroom
- If you have a desk, remove all clutter. Even if it means removing every item off the desk and into a box temporarily.
- Make the bed, remove any personal items off the floor.
- Don’t leave any items on the bed that don’t belong there
- Living Room
- Remove clutter from coffee and side tables. Straighten out any curtains so they don’t look sloppy.
2. Make sure there is enough light. Open the curtains, turn on the lights. If you have to choose between the light indoors or being able to see outside of the window – choose to show the indoors best.
3. Horizontal photos are for clearly showing what a room looks like, vertical images help express a mood or style. For most images on your listing, you want to aim for horizontal as it shows more of a room. The only times we make exceptions is when we shoot small and narrow bathrooms with beautiful flooring where it would be a shame not to get everything into the image at once.


4. Shoot straight ahead as possible and avoid tilting the camera too far down or too far up. If you’re tall – don’t shoot down from your own height. Try and move down towards what a 5’ tall person would see when they walk in. Try not to slant the camera too much to the right or left, try to stay as straight as possible.


 Sign up with email